
Create Cute and Cozy Party Crowns for Kids!
with no annoying elastic bands digging into their chins :)

We recently hosted our 4-year old's first "friend" birthday party here at our home (A Jewelry/Craft/Unicorn Extravaganza), and it was so much fun! Last week, I wrote a contributor post at Ginger Snap Crafts, discussing How to Host a Stress-Free Kids Party, and as I promised there, here is the first tutorial for one of the crafts I highlighted.
One of the kids' favorite things about the party (which you'll notice in the Stress-Free Party post) were the Cozy Party Crowns they received when they came into the house. The craft was super easy to prepare, and my own kids, now 2 months later, continue to wear them around the house when they're playing "dress up," so they're pretty durable, too!
You have so many options with these crowns. Since I was entertaining little ones, I chose to create the crowns and adorn them with the pom-poms pre-party so they were ready-to-wear when they got here. BUT, using the crowns as a base, you can easily have the kids decorate them themselves (especially older kids). And they don't need to use pom-poms, either--you could grab a bucket of "jewels" from the craft store and let the kids go to town with those! You could also personalize them with letters or use puffy paint or fabric markers to let the kids decorate them; however, one thing you want to think about is "drying time." If you let them use regular tacky glue or paint to decorate, chances are they won't dry by the end of the party (and they won't be able to wear them during it). I got around that issue with some other crafts by using hot glue, but if you do that, DO ALL THE HOT GLUING YOURSELF! Burning someone's child's finger would not make a fun party trick. I just asked the kids where they wanted me to glue their adornments, and they were perfectly happy with that!
Either way, here's how I created the DIY Cozy Kids Party Crowns:

- Print out the Cozy Crown pattern on cardstock, and cut it out.
- Trace the pattern onto stiffened felt (repeat for as many crowns as you need).
- Cut out your crowns using sharp scissors.
- Cut out elastic ribbon bands. I cut mine at 8.5" (this size fit the kids'--and my--heads perfectly).
- Attach the elastic ribbon bands either by sewing or using hot glue (see pic). I did some both ways; I had a worried about how the hot glue would hold, but it's still attached over a month later!
- Adorn as desired. We used simple, shimmery pom poms as the "jewels," but the possibilities are endless!


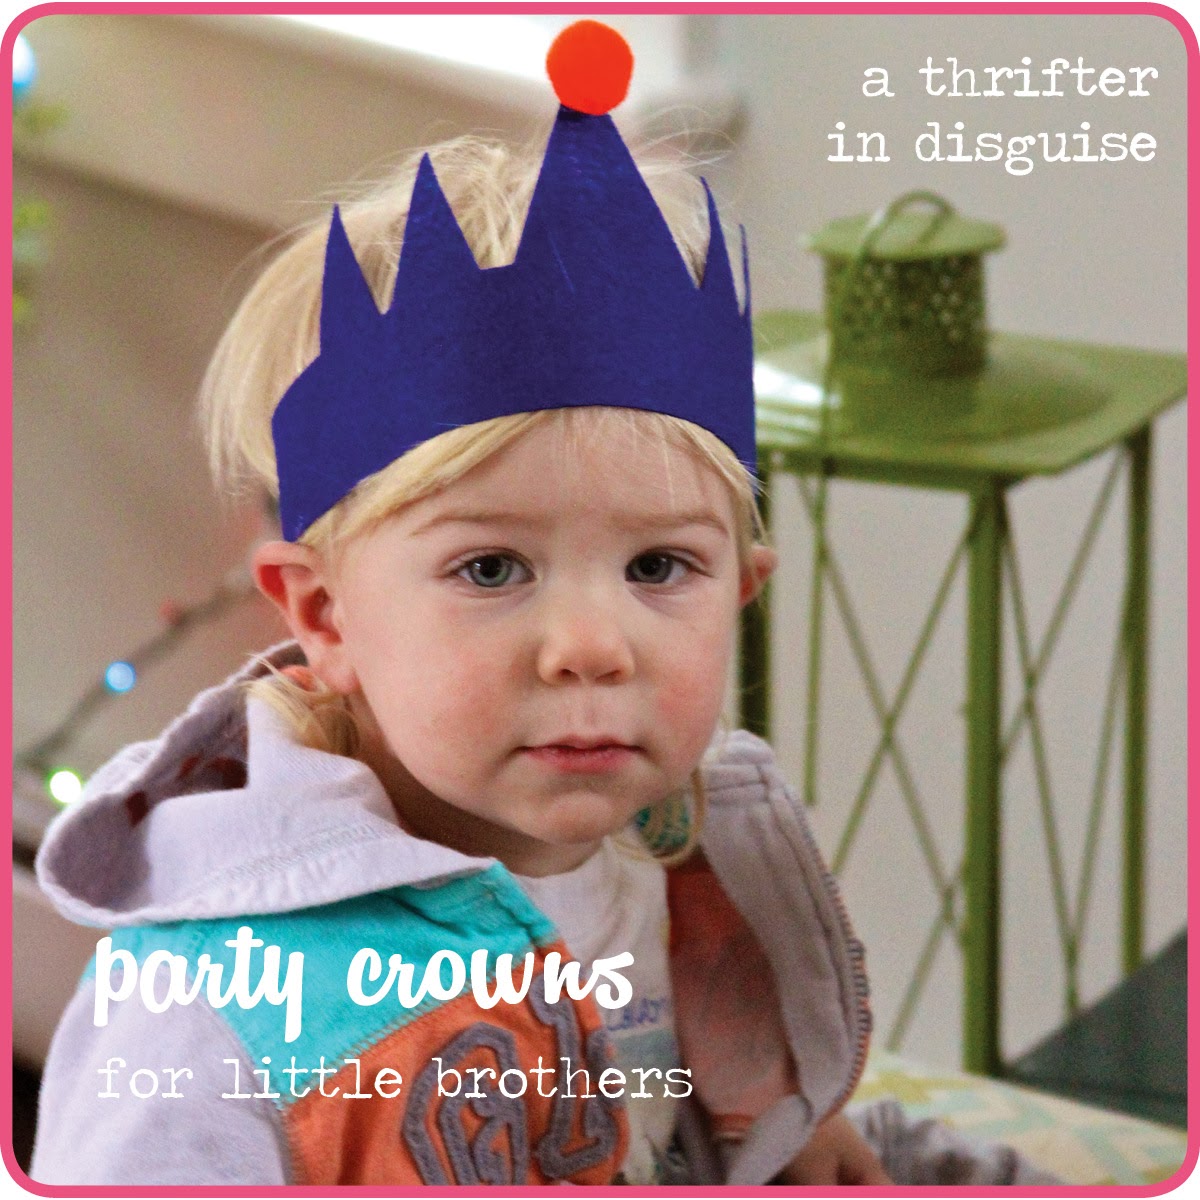
I was really happy with how the crowns ended up. They had a cute, custom look, and the girls loved them (but don't think I forgot about the boys! Check out the "Little Brothers" version we made, too)!

Everyone had a great time frolicking around in their jewels all afternoon, and the Cozy Crowns were a big reason why! And I'm happy to report, that unlike the traditional uncomfortable party crowns that often get worn for 5 minutes and abandoned because they're digging into sensitive little chins, the kiddos wore them for the duration of the party!


I hope you enjoy! Stay tuned for more Jewelry, Art & Unicorn Party crafts to be published soon! Looking for another birthday party theme? Check out this awesome Beach Scavenger Hunt Party.

Linking up to:
Give Me the Goods
Making the World Cuter
Take-a-Look Tuesday
Time to Sparkle
Create Link Inspire
Handmade Tuesdays
Wow Me Wednesdays
Made U Look Linky
Moonlight and Mason Jars
Life of the Party
Craftionary
The Party Bunch
Tickled Pink Times Two
Pinworthy Projects
These are so cute!
ReplyDeleteThanks, Em! I'm so happy I decided to make them instead of going with paper hats!
DeleteThose are so cute! My little girl will be 4 April 20th. I bet she would love to do this. I know my 8 year old Daughter would love to help too!
ReplyDeleteThanks, Lisa! I'm sure they will love it! It was so much fun. I'll definitely do it again sometime and probably decorate them in another fun way. Good luck! Would love to see pics if you do them!!
DeleteThese are seriously adorable, I might have to make some of these for my daughters next birthday, what a fantastic idea!
ReplyDeleteSheena @ http://thekeeperofcheerios.blogspot.com/
Thank you, Sheena! I was so happy I did! Super easy, and those little 4-year-olds felt so special :)
Delete